Repairing an electronic circuit board (also called a PCB — printed circuit board) requires a methodical approach. Here’s a general step-by-step guide you can follow.
Before repairing any circuit board, you should have complete knowledge about each electronic component. Like how to check a diode, how to check a resistor… etc.
⚙️ TOOLS YOU’LL NEED:
• Multimeter (for testing)
• Soldering iron and solder
• Desoldering pump or wick
• Tweezers, small pliers
• Isopropyl alcohol + brush (for cleaning)
• Magnifying glass or microscope
• Replacement components
• Hot air rework station (optional, for surface mount devices)
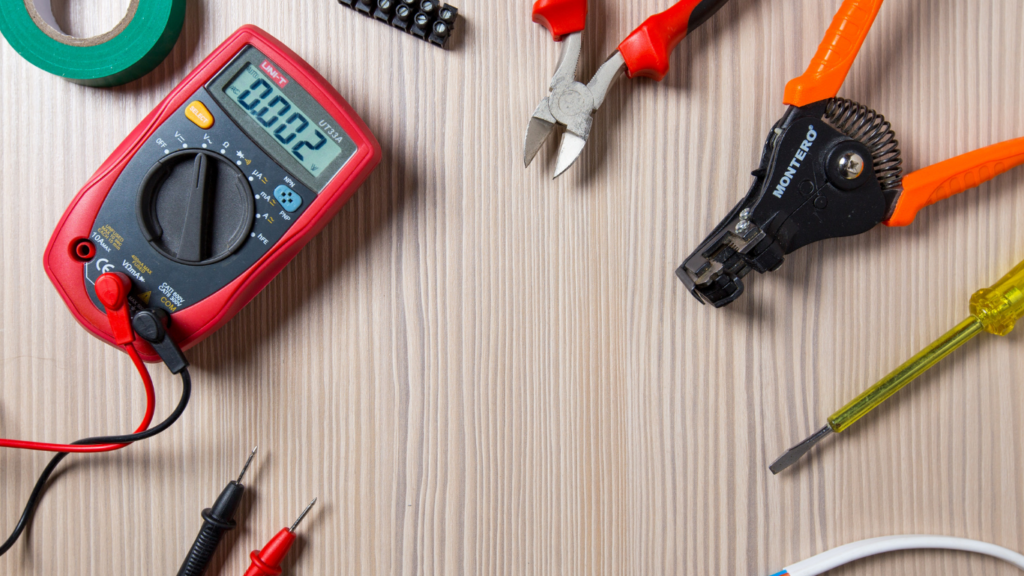
You can buy the tools as per your convenience, even if you don’t buy very expensive ones, you can still do fault finding.
🛠 STEP-BY-STEP REPAIR GUIDE:
1. Visual Inspection
Look for:
• Burn marks or discoloration
• Cracked or swollen capacitors
• Broken traces or pads
• Loose/broken connectors
• Corrosion or water damage
🔍 A magnifying glass helps a lot here.
2. Smell Check
It might sound odd, but burnt components often leave a distinct smell. You can sometimes narrow down faulty parts this way.
3. Test with a Multimeter
Set your multimeter to:
• Continuity mode to check for broken traces or open circuits.
• Resistance/Diode mode to test components like resistors, diodes, and transistors.
• Voltage mode (when powered on) to check voltage at different points.
🧠 Tip: Compare values with a known good board if possible.
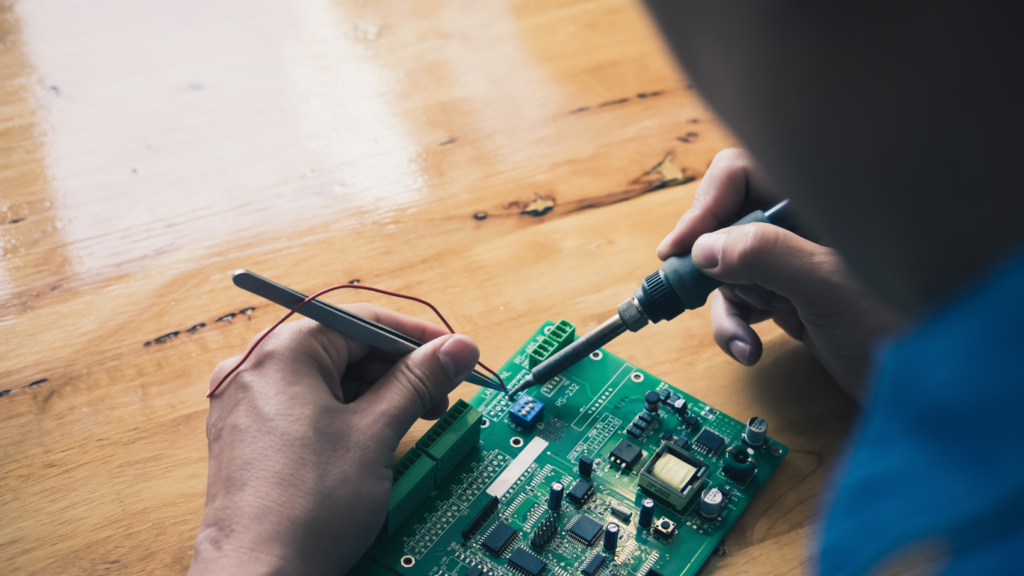
4. Identify and Remove Faulty Components
• Use a desoldering pump or wick to remove solder.
• Carefully remove the component without damaging nearby traces.
🔥 If it’s surface-mount: use a hot air rework station or careful tweezers + heat.
5. Clean the Area
Use isopropyl alcohol and a brush to clean any flux residue or corrosion from the board.
6. Replace and Resolder
• Install the new component.
• Solder carefully — avoid bridging traces or pins.
• Trim excess leads if through-hole.
📐 Make sure polarities are correct for capacitors, diodes, ICs, etc.
7. Final Check and Power On
• Do a continuity and visual check again.
• Power up the board and check if the issue is resolved.
• Monitor for heating or unusual behavior.
🚫 Common Mistakes to Avoid:
• Overheating the board
• Applying too much solder
• Not cleaning flux residue (can be conductive over time)
• Ignoring electrolytic capacitor polarity
• Powering on without verifying the fix
By following the steps given above, you can repair any circuit board. When a faulty board comes for repair, check the reason for the fault. Like, is the board damaged due to forward load or due to internal short circuit?